Backyard Fire Pit Ideas for Landscaping the Whole Space Around It
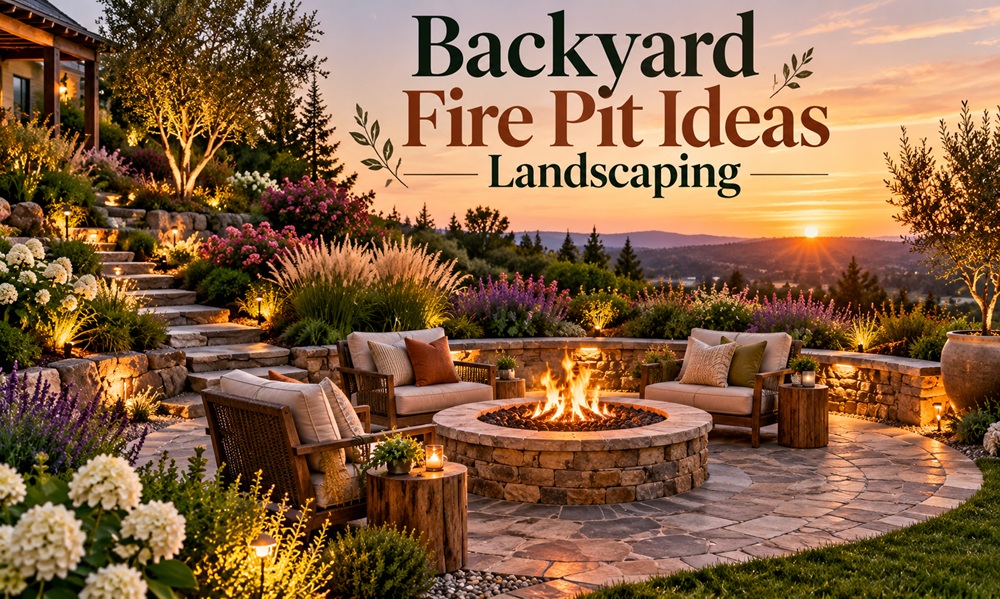
A fire pit looks its best when the landscape was planned with it, not arranged around it afterward. The strongest backyard fire pit ideas for landscaping start with the ground, the seating, and the planting that frames the pit, and they follow one rule above all others. Anything that burns, melts, or scorches stays well back from the flame.
What follows covers how to place a pit, what to put under and around it, and which plants suit the edges of the space.
Think of It as an Outdoor Room
The most successful fire pit areas feel like rooms. They have a floor, a boundary of some kind, and a clear way in. Setting the pit in the middle of an open lawn leaves people feeling exposed, while tucking it near a hedge, a fence, or a low wall gives the space a sense of enclosure.
Position matters beyond looks. Keep the pit well away from the house, fences, sheds, and overhanging branches, and follow your local rules for distance. Think about the view as well. A spot that faces a favorite tree, the sunset, or a quiet corner of the garden gives guests something to look at while the fire does its work. Then link the area to the house with a path, so people can reach it comfortably after dark.
Rules That Shape the Design
Before sketching anything, find out what your area allows. Some places restrict wood fires, set minimum distances from structures, or require permits for permanent pits. Gas pits are often treated differently from wood-burning ones. Homeowners associations can add limits of their own. These rules decide how far the pit sits from the house, which in turn decides where the seating, paths, and planting go.
Call your local utility-locating service before any digging. In the United States that means 811, and the call is free.
Choose a Ground Surface That Handles Heat
The surface under and around a pit has to resist sparks, drain water, and stay stable under chairs.
| Surface | Strengths | Watch for |
|---|---|---|
| Pavers or flagstone | Firm, defined, comfortable for chairs | Needs a well-compacted base so it doesn’t settle |
| Gravel | Drains well and suits informal designs | Needs edging, and chair legs can sink |
| Decomposed granite | Natural look, firm when compacted | Can wash away and track onto floors |
| Poured concrete | Clean, modern lines | Can crack on a poorly prepared base |
| Lawn | Soft and familiar | Scorches easily and catches stray embers |
Whichever you choose, keep a ring of non-combustible material around the pit. Bark mulch, pine needles, and dry leaves right beside the fire invite trouble. Many designers extend the hard surface several feet beyond the pit and the seating so there’s a natural buffer.
Match the Materials to the House
A fire pit area feels connected when its materials echo something nearby. Warm brick or tumbled stone suits a traditional house, while smooth concrete and dark steel suit a modern one. Pulling a color or texture from the patio, the front walk, or the retaining walls ties the space to the rest of the property.
Restraint helps. Two or three materials used consistently look planned, and five different ones look like leftovers from other projects.
Build Seating Into the Design
Loose chairs are easy, but built-in seating makes the pit feel permanent. A curved seating wall can wrap around part of the circle, and a boulder or two can serve as informal perches. Terraced steps work well on a slope, where the seating doubles as a retaining wall.
Seat height commonly lands around 16 to 18 inches, which is comfortable for most people. Leave one section of the circle open so guests can walk in without climbing over a wall, and let the seating follow the shape of the pit so everyone sits roughly the same distance from the heat.
Plant Around the Fire With Care
Planting softens hard edges and ties the area to the rest of the garden. It simply needs more thought here than elsewhere.
What to Keep Back
- Dry ornamental grasses, which ignite quickly once they’ve dried out
- Resinous evergreens such as junipers and many conifers
- Thick organic mulch or bark chips close to the pit
- Hanging baskets and climbing vines on structures directly overhead
- Dead leaves and dry plant debris gathering around the base
What Suits the Edges
Low, moist-leaved plants and succulents tolerate heat and sit comfortably near hardscape. Creeping thyme tucked between pavers adds fragrance and softens the joints. Taller perennials and shrubs can form a ring set back from the seating, framing the area without leaning in. Lavender and rosemary pair nicely with wood smoke in suitable climates, though they belong a few feet back rather than beside the flame.
Trees Overhead
A canopy feels lovely, but it has to be high enough that heat and sparks never reach it. Prune low branches, and place large shade trees several feet beyond the seating instead of directly above it.
Add Privacy and Shelter From Wind
Wind drives smoke and sparks, and a neighbor’s sightline can make a pit feel less relaxed. A fence, a hedge, a lattice screen, or a cluster of tall shrubs can solve both problems. Leave a gap between the screen and the fire area, since a flammable fence right behind the seating is a hazard. Notice where the wind usually comes from in the evening and put the screen on that side.
Light the Space Quietly
Fire gives off its own glow, so lighting should stay soft. Low-voltage path lights guide people along the way, and a small uplight on a nearby tree adds depth without competing with the flames. String lights work provided they hang well clear of the fire and its rising heat. Harsh floodlights wash out the mood and hide the stars.
Handle Drainage Before It Becomes a Problem
A fire pit that sits in a low spot collects water after every storm. Grade the area so rain moves away from the pit and the seating, and use a permeable base under the surface where you can. If the yard slopes, a retaining wall or terrace can level the pit area and send runoff around it. A bit of extra gravel below the pit often makes a noticeable difference in how quickly it dries out.
Scale It to the Yard
An oversized pit and patio can swallow a small yard, while a tiny pit in a large yard looks lost. Leave enough room to walk comfortably around the seating and still see some garden on every side. If you’re unsure, mark the outline on the ground with rope or spray paint and live with it for a few days before building.
Build in Phases
You don’t have to complete everything at once. Install the pit, the surface, and the seating first, since those pieces need the most structure. Add planting after you’ve used the space for a season and know where the shade and wind really fall. Many of the best fire pit areas grew in stages.
The pit is the center of the room, but the landscape around it is what makes people want to sit down. Get the ground, the seating, and the planting right, and the fire takes care of the rest.