How to Create a Landscaping Plan for Your Yard
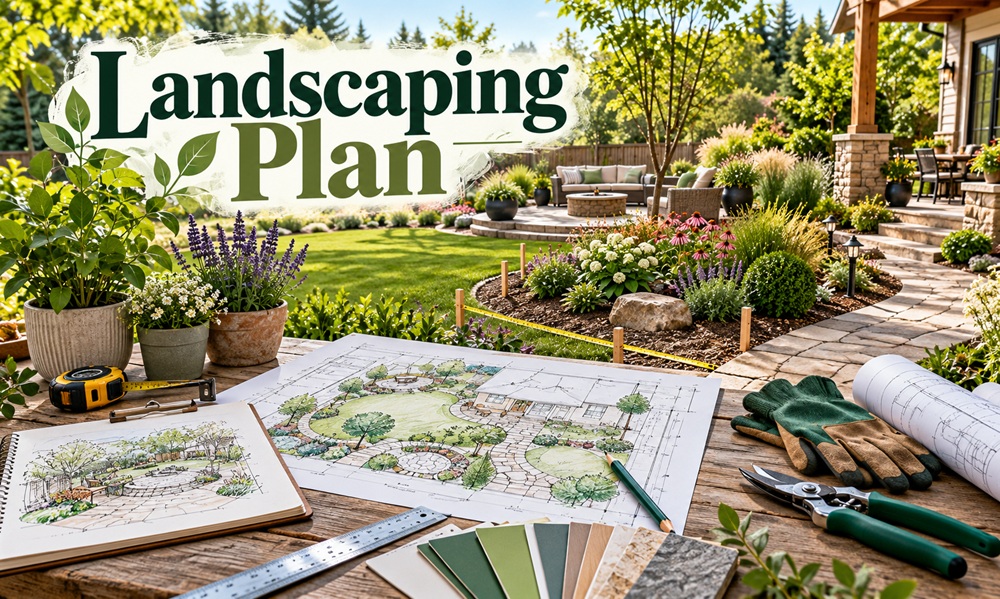
A landscaping plan is a scaled drawing, plus notes, that shows what goes where, what it’s made of, and the order you’ll build it in. Making one means measuring your property, studying how the site behaves, listing what you need, sketching zones, choosing materials and plants, and breaking the work into phases. You don’t need design software. Graph paper, a pencil, and a tape measure are enough to produce a plan that saves you from expensive mistakes.
A plan matters because yards rarely fail from one big error. They fail from many small purchases that never added up to a whole. Drawing it first lets you see problems while they’re still cheap to fix.
What a Landscaping Plan Includes
| Element | What it shows |
|---|---|
| Base map | Property lines, house, driveway, existing trees, utilities |
| Zones | Areas by use, such as entry, dining, play, and garden |
| Hardscape layout | Paths, patios, walls, fences, and steps |
| Planting plan | Plant types, spacing, and mature sizes |
| Grading and drainage | How water enters, crosses, and leaves the yard |
| Lighting and irrigation | Fixtures, lines, and control points |
| Phasing and budget | The order of work and what each stage may cost |
Not every yard needs all seven. A small front yard might need only the first four, while a sloped back lot will likely need all of them.
Start With an Accurate Base Map
Everything else rests on the base map, so spend time on it. Measure the house, driveway, walkways, and any existing patios or sheds, then transfer them to graph paper at a consistent scale. A scale of one inch to four feet suits small yards, and one inch to ten feet works for larger lots. Mark the doors and windows, since they decide where paths and seating make sense.
Add the property lines using your deed, plat, or survey instead of guessing. Fences are not always on the boundary. Then mark the trees you want to keep, the slope of the ground, and the location of utilities. If you plan to dig, call your local utility-locating service first. In the United States that means 811, and the call is free.
Study How the Site Behaves
A plan that ignores sun, water, and wind fights the yard instead of working with it. Spend a day, or better yet several, noticing the details.
- Where sun and shade fall in the morning, midday, and late afternoon
- Where water pools after rain, and where it runs off
- Which areas stay dry in summer or soggy in spring
- Where wind funnels between buildings or across open ground
- What the views are from inside the house, and which ones you’d like to block
- Where the soil is compacted, rocky, sandy, or heavy with clay
Write Down What You Need
List how the household actually uses outdoor space. Do you entertain, grow food, need a play area, want a quiet spot, or have pets that need a run? Then separate the must-haves from the wishes. This list is what keeps you from adding features simply because you saw them somewhere.
Be honest about upkeep, too. A plan with a large lawn and high-maintenance borders only works if you want to spend weekends caring for them. If you don’t, favor groundcovers, shrubs, and mulched beds that look after themselves.
Sketch Zones Before You Draw Details
Make a few copies of the base map, lay tracing paper over one, and draw loose circles for each use, a method designers call a bubble diagram. Place dining and entertaining near the house door where food and drinks travel the shortest distance. Put play areas where you can see them from a window. Tuck utilities such as trash bins, compost, and air conditioners where they can be screened without blocking access.
Next connect the circles with arrows showing how people will walk between them. Circulation is where many yards go wrong. If the shortest route between two zones crosses a bed, people will cut through it, so plan the path where the feet will go.
Lay Out the Hardscape First
Paths, patios, walls, steps, and fences form the framework, and they’re the hardest to change later, so fix their positions before choosing plants.
Size things for real use. A main walkway that two people can use side by side is often around four feet wide, while secondary paths can be narrower. A dining area for a small table and four chairs often needs roughly ten by ten feet once chairs are pulled out. Draw furniture to scale on the plan to check.
Consider materials as part of the plan. A few well-chosen surfaces that echo the house look better than many different ones. If you’re building walls over a modest height or making changes to drainage, check local rules, since permits may be required.
Choose Plants With the Whole Picture in Mind
Once the framework exists, plants fill and soften it. Think in layers, with trees overhead, shrubs for structure, perennials for seasonal color, and groundcovers to cover the soil.
Always read mature size. A shrub that looks tidy in a one-gallon pot may need six feet of space in ten years. Mark the full width on the plan as a circle so you can see how plants will relate to each other, to paths, and to the house.
Repeating a few plants across the yard creates calm and keeps the plan easy to maintain. Choose plants suited to your sun, soil, and climate, and consider native species, which often need less water and support local wildlife. A local extension office or native plant society is a reliable source of regional lists.
Plan for Water and Lighting
Water is easier to handle on paper than after the fact. Mark where roof downspouts discharge, and make sure they send water away from the foundation. Note low spots that need grading, a swale, or a dry creek bed. If you plan an irrigation system, sketch zones that group plants with similar needs, since grass and drought-tolerant shrubs shouldn’t share a line.
Lighting is simpler to plan than to retrofit. Mark where you need light for safety, such as steps and path turns, and where you want gentle accent light. Low-voltage systems are common for homeowners, though anything involving line-voltage wiring should follow local electrical code and is best done by a licensed electrician.
Phase the Work and Set a Budget
Few people build a whole yard in one season. Break the plan into phases that make sense on their own. A common order starts with drainage and grading, then major hardscape, then irrigation and lighting, then trees and shrubs, and finally perennials and finishing touches.
Set a budget range for each phase using local quotes and material prices, since costs vary by region and supplier. Many planners add a cushion for surprises, and a contingency in the range of ten to twenty percent is a common suggestion. Phasing also lets you live in the space between stages and adjust the later ones.
Test the Plan Before You Build
Walk the design on the ground. Lay a garden hose to mark curved paths, stake corners of patios and beds, and place chairs or boxes where furniture will go. Stand at the windows and look out. If a bed feels too narrow or a patio too small, adjust the drawing before spending money.
When to Bring in a Professional
A landscape designer can draft a complete plan, and some offer a one-time consultation so you can do the building yourself. A landscape contractor builds the hardscape and installs plantings, and a certified arborist advises on trees. Hire help for grading, retaining walls, major drainage, and electrical work, where mistakes are costly and local codes may apply. Always compare written quotes and ask about licensing and insurance where your area requires them.
Mistakes That Undermine a Plan
- Skipping the site study and planting in the wrong light
- Ignoring mature plant sizes
- Placing paths away from the way people really walk
- Building too much at once and running out of budget midway
- Forgetting drainage until the first heavy rain
A Plan Is Meant to Change
The best landscaping plan is clear enough to follow but flexible enough to adjust. You’ll learn from each phase, and the drawing can evolve with you. What matters is that every new project fits a larger idea, so the yard grows into something coherent.