How to Build a Greenhouse From the Ground Up
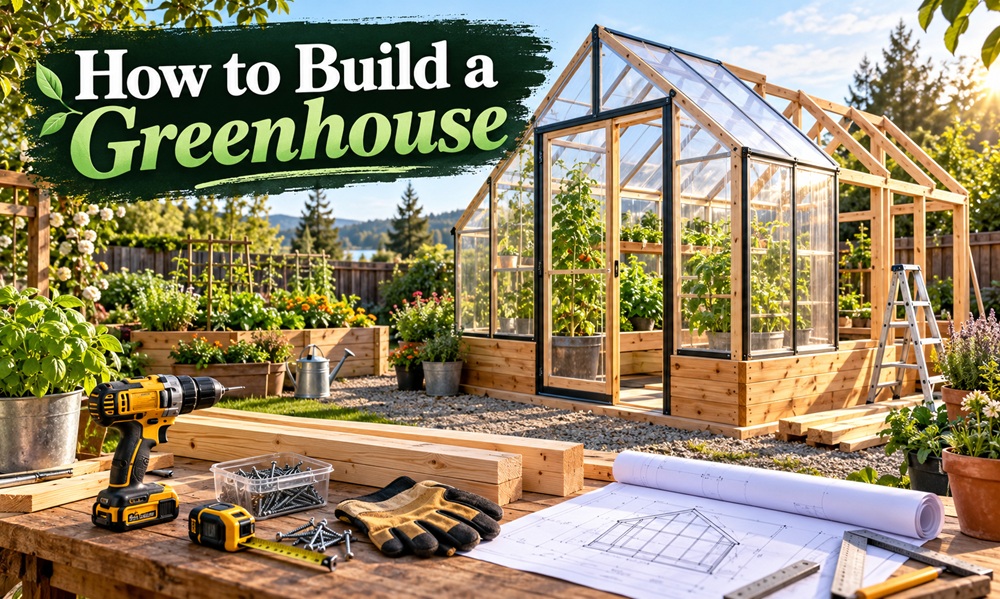
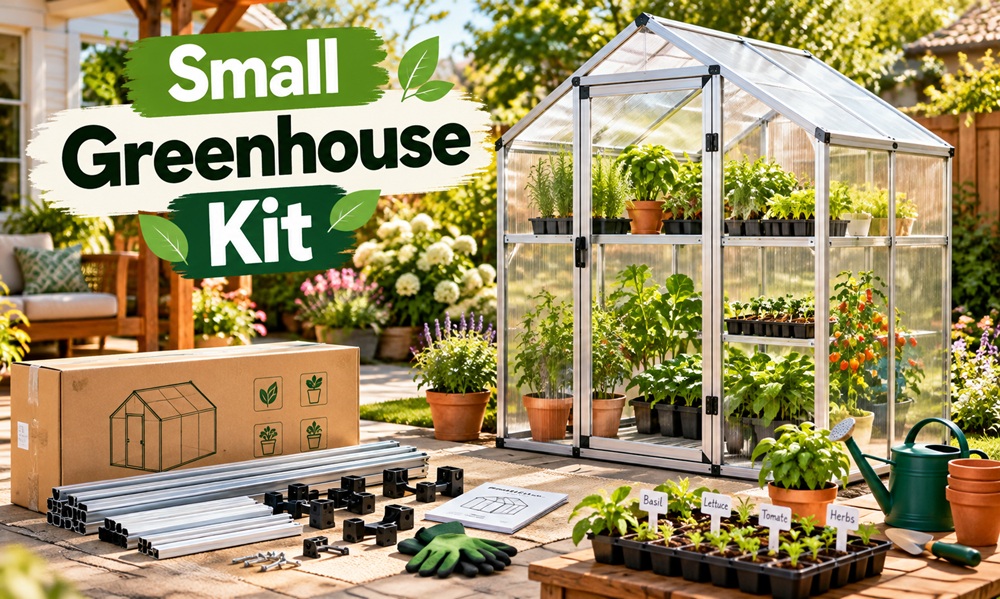
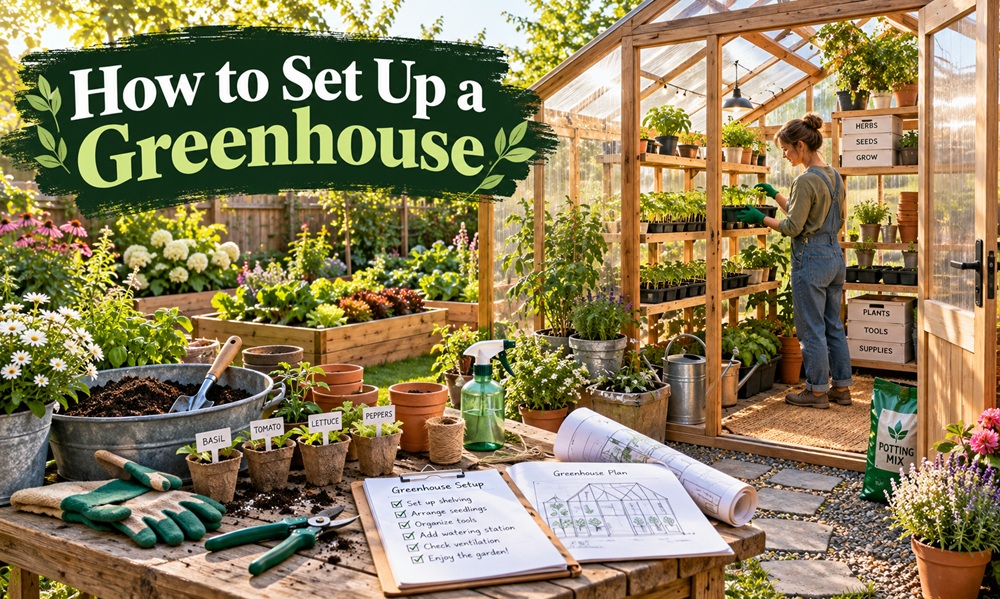
A greenhouse is a frame covered in clear or translucent material that holds heat and shelters plants from weather. Building one comes down to a handful of decisions and tasks. You choose a type and size, pick a good site, lay a level base, put up the frame, add the covering, and finish with ventilation and a door. A small greenhouse is realistic for most do-it-yourselfers over a few weekends, and larger ones are manageable with help and a solid plan.
Choose the Type of Greenhouse
Freestanding
A freestanding greenhouse stands on its own, so you can place it wherever the light is best and let sun reach it from several sides. It needs a complete frame and a full base, which makes it the most work, but it offers the most flexibility.
Lean-To
A lean-to rests against a house, garage, or sturdy wall. It borrows some warmth from the building, uses fewer materials, and puts water and power close at hand. The wall needs to be strong, and it should face the sun for the design to pay off.
Hoop House
A hoop house uses curved ribs of PVC pipe or metal conduit covered with plastic film. It’s the quickest and most economical way to get a covered growing space. It also insulates less and wears out faster than a framed structure, so it suits season extension better than year-round growing.
Deciding on Size
Build for what you can heat, ventilate, and reach. A narrow structure lets you tend plants from a path without stepping on beds. Check local building rules too. Many areas regulate structures above a certain size, set minimum distances from property lines, or require permits for permanent foundations and electrical work.
Find the Right Spot
Sun comes first. A greenhouse needs as much light as you can give it, especially in winter when the sun sits low. In the Northern Hemisphere, aim the long side toward the south, and keep trees and buildings from casting shade across it in cold months.
Level ground saves work, and good drainage keeps the floor from turning into a puddle. Some shelter from strong wind helps, as long as the shelter doesn’t create shade. Being close to a hose bib and an outdoor outlet will make daily use far easier, and a path you’ll actually walk in rain or snow matters more than it sounds. Call your local utility-locating service before digging, which in the United States means dialing 811.
Match the Frame and Covering to Your Climate
Frames are commonly made from wood, aluminum, galvanized steel, or PVC. Wood is easy to cut and fasten, but it needs rot-resistant lumber or a protective finish in damp conditions. Aluminum is light and durable and resists rust. Steel is strong but needs a protective coating. PVC works for hoops and small structures but isn’t built for heavy loads.
The covering affects heat retention, light quality, and how long the structure lasts.
| Covering | Strengths | Trade-offs |
|---|---|---|
| Glass | Very clear and long-lasting | Heavy, breakable, and needs a stronger frame |
| Twin-wall polycarbonate | Insulates well, lightweight, impact resistant, and spreads light evenly | Can cloud with age and needs sealed edges |
| Polyethylene film | Lowest cost and quick to install | Needs replacing every few years and insulates less |
If you choose glass, use tempered or safety glass. For most home builders, twin-wall polycarbonate strikes a practical balance, but film is a fair choice for a first, low-risk experiment.
Build It Step by Step
- Mark out and level the site. Use stakes and string to outline the footprint, then check the corners are square by measuring both diagonals, which should match. Remove sod and level the ground as precisely as you can.
- Build the base. A compacted gravel pad with a perimeter of pressure-treated timbers, concrete blocks, or a poured footing is common. The base needs to be level and square, because any error carries into the frame and later makes the panels hard to fit.
- Assemble the frame. Cut and build wall sections or hoops on the ground, then lift them into place. Work with a helper, since long pieces are awkward and the frame isn’t stable until it’s fastened.
- Brace and anchor it. Add diagonal bracing to stop the frame from racking, and anchor it firmly to the base. Wind pulls at a greenhouse much more than people expect, and an unanchored structure can lift or shift.
- Install the covering. Follow the manufacturer’s instructions for orientation, since many polycarbonate panels have a UV-protected side that must face outward. Seal the cut ends of twin-wall panels so moisture and insects stay out. If you’re using film, pull it taut and secure it evenly to avoid flapping in wind.
- Fit the door and vents. A wide door makes it easier to carry in pots and wheelbarrows. Install roof vents high on the structure and side vents low, so air can move through.
- Seal the gaps. Use weatherstripping or sealant around the door, vents, and where panels meet the base. Small leaks lose heat on cold nights and let pests in.
- Add the floor and benches. Gravel or pavers drain well and are easy to clean. Benches can be built from rot-resistant lumber or sturdy shelving, set at a comfortable working height.
Don’t Skimp on Ventilation
A greenhouse can overheat surprisingly quickly, even on a cool, sunny day. Ventilation is what keeps plants from cooking. Many growers aim for vent area equal to roughly 15 to 20 percent of the floor area, though the right number depends on your climate and what you grow.
Automatic vent openers that react to temperature work without electricity and are worth adding. A small fan helps circulate air on still days. Without good airflow, humidity builds up and invites fungal diseases.
Plan for Water and Power
A hose within easy reach is the minimum. A rain barrel nearby supplies water that’s gentler on plants and warms up in the sun. If you want lights, fans, or heaters, power should be installed to local code, ideally by a licensed electrician, with outdoor-rated, GFCI-protected outlets.
What Affects the Cost
Costs vary widely with size, frame material, covering, foundation, and how much you build yourself. Heating, ventilation hardware, benches, and permits add to the total. Prices change by region and supplier, so gather local quotes for materials before committing, and decide where you’d rather spend more. The base and the frame usually deserve it.
Mistakes to Avoid
- Building too small, then outgrowing it within a season
- Choosing a shaded or poorly drained site
- Skipping the anchoring and losing a panel in the first storm
- Installing too little ventilation
- Putting polycarbonate panels on with the wrong side facing out
- Rushing the base, which makes everything above it harder
Start With the Base and the Airflow
The glass or plastic gets the attention, but a greenhouse succeeds or fails on its foundation and its ventilation. Get those two right, take your time with the frame, and the rest of the build is straightforward.